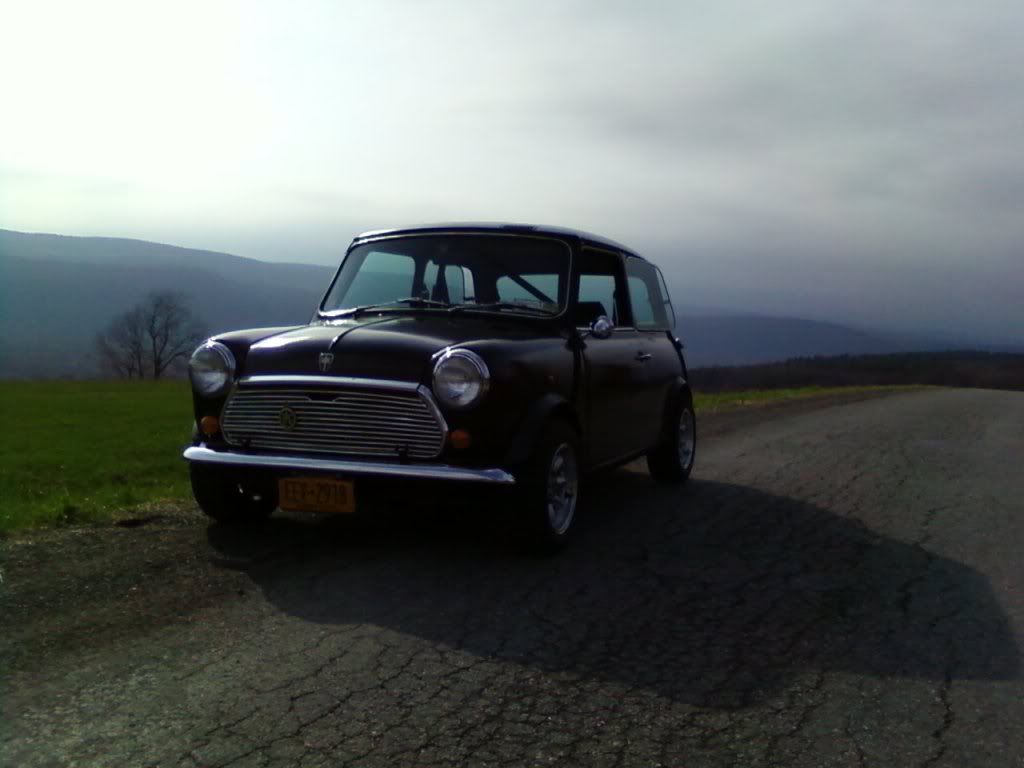
Finally some videos of the mini in action! We've been doing well, but the car definitely needs more power. I'll be swapping in a 1275 unit at some point. I've put a sway bar on the rear and have adjustable bottom arms on the way so I can finally get some negative camber up front. Video links below
http://s46.photobucket.com/albums/f112/belenus92/Mini%20Videos/?action=view¤t=DSCF1043.mp4
http://s46.photobucket.com/albums/f112/belenus92/Mini%20Videos/?action=view¤t=DSCF1042.mp4
http://s46.photobucket.com/albums/f112/belenus92/Mini%20Videos/?action=view¤t=DSCF1041.mp4
We have another event next week. I'm hoping to have plenty of in car video, and hopefully some pictures. Enjoy!
Saturday, June 4, 2011
Monday, May 2, 2011
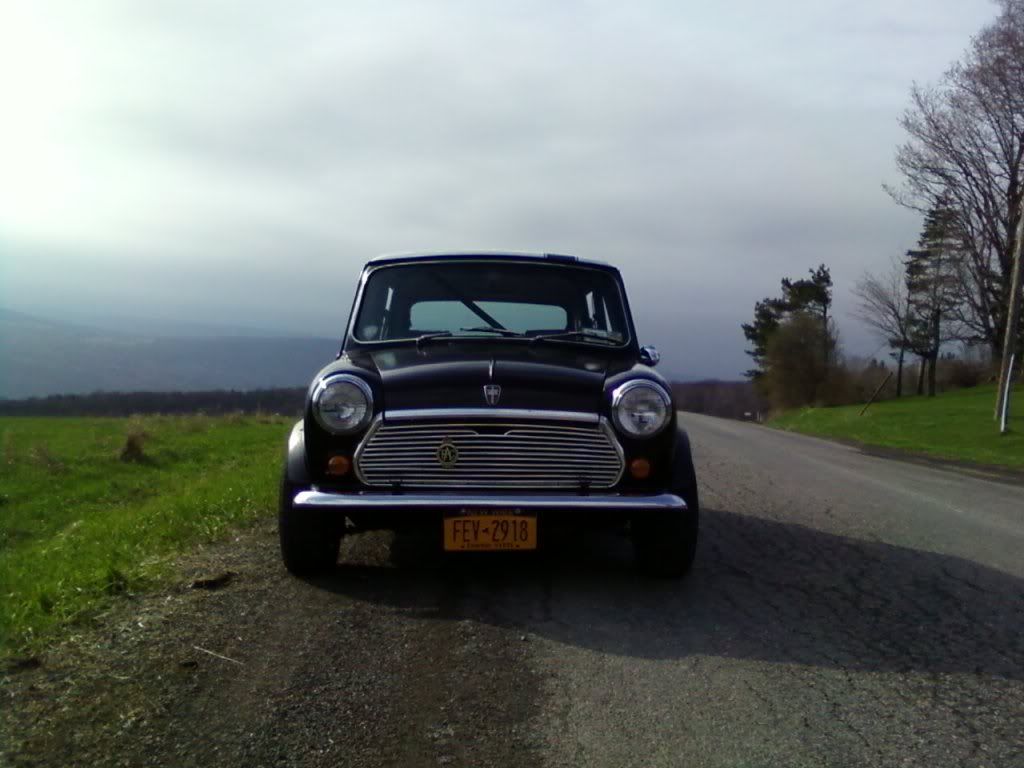
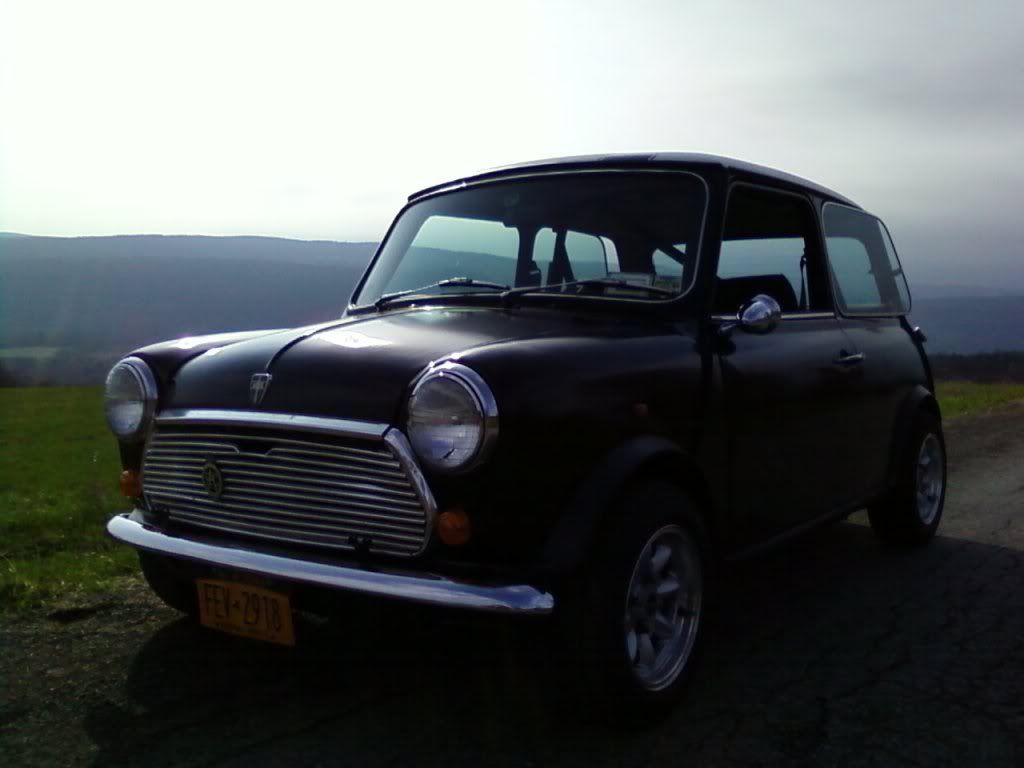
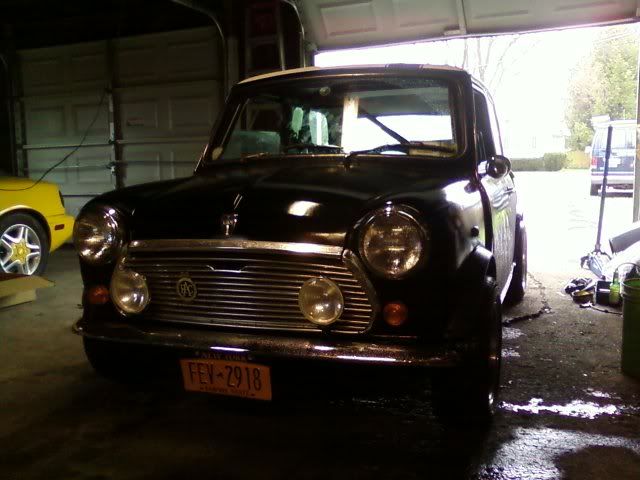
Just thought I'd share pictures from yesterday's event. I wasn't able to capture any video or pictures, but another guy did. The car did well yesterday, and we finished about mid pack. I beat my dad though... Next on the list of goodies is a sway bar for the front, then new tires and adjustable lower arms, so I can get some negative camber up front. Enjoy...
Monday, April 25, 2011
More Pictures
As promised, more pictures...
Just a little more sealing to be done, and we have an event this weekend. Can't wait!!!
Monday, April 18, 2011
Update 4/18/11
Thought I'd share what's been going on. Thursday I figured out my brake issue to be the rod on the master cylinder was slightly long, and as a result the rod wouldn't fully disengage and would cause a buildup in pressure until the pistons in the caliper wouldn't retract. However, that's fixed.
Had the mini aligned Friday, and the specs were and still are off from where I'd like them. I'm going to have to buy a set of lower adjustable arms to get rid of the positive camber in the front. Right now I'm at .5+ on the left and 1+ on the right. And that's with bottom arms that are supposed to decrease positive camber by 1.5! They can have up to 3+ in the front!
Yesterday, we hooked up the ventilation system so it'll actually pull air from outside. I also raised the right side of the car a hair and tightened up the rear brakes a bit. On thursday, I also found the main hub retaining nut on both rears to be about finger tight, when it's supposed to be 30 ft lb!
Finally, today I'm headed out to seal up more seams and welds, as the floor is leaking quite a bit when driven in the wet. I also think I have finally figured out the year of the car. According to the date stamped on the boot lid latch, wiper motor and carb it's a 91. Much newer than I would've figured! I'll have more pictures up this week...
Wednesday, April 13, 2011
Update 4/13/11
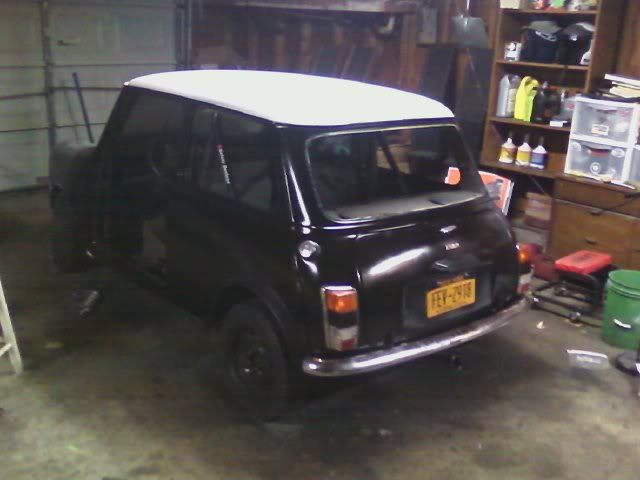
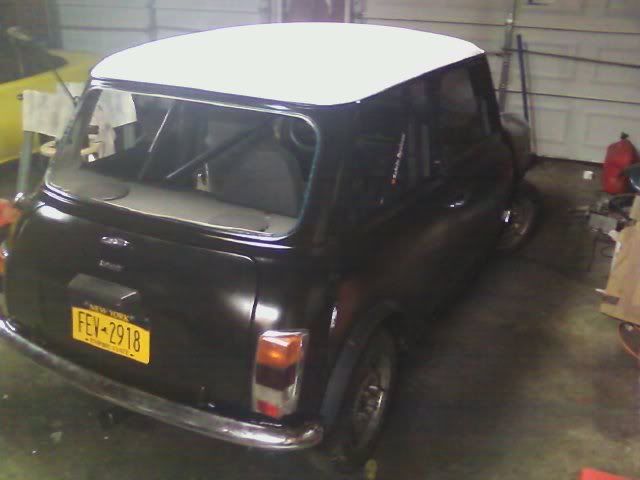
Well, it's been a few days since I've updated this so I thought I'd better. Sorry for some of the crappy pictures, but cell phones just aren't cameras.
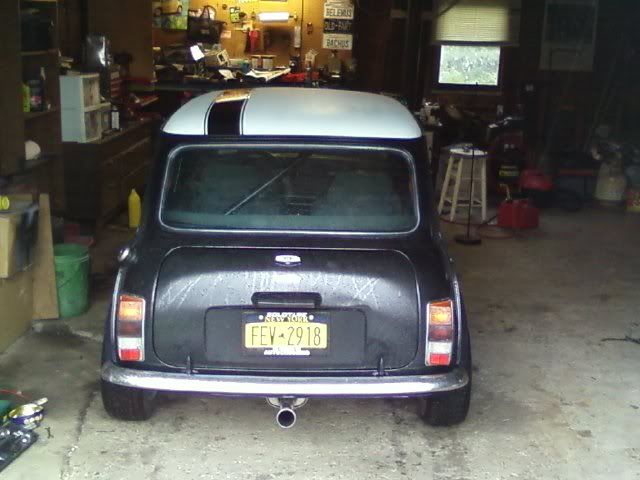
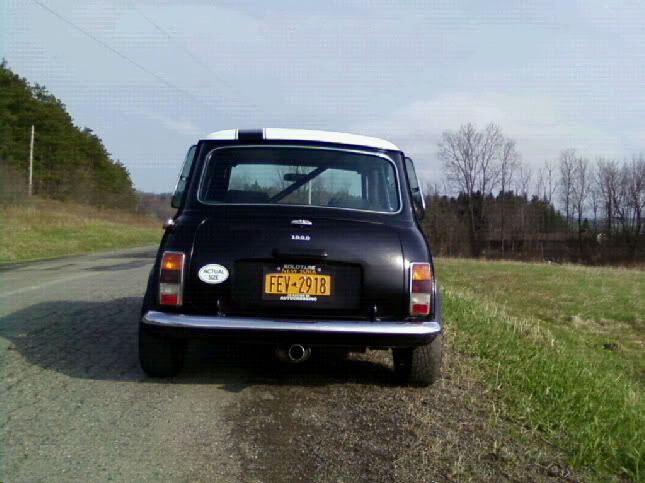
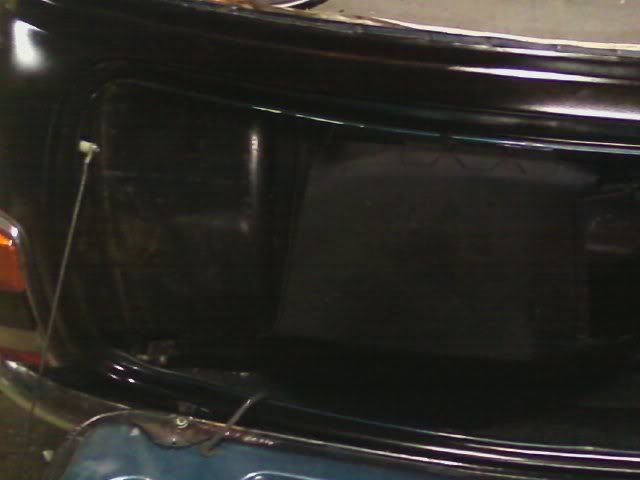
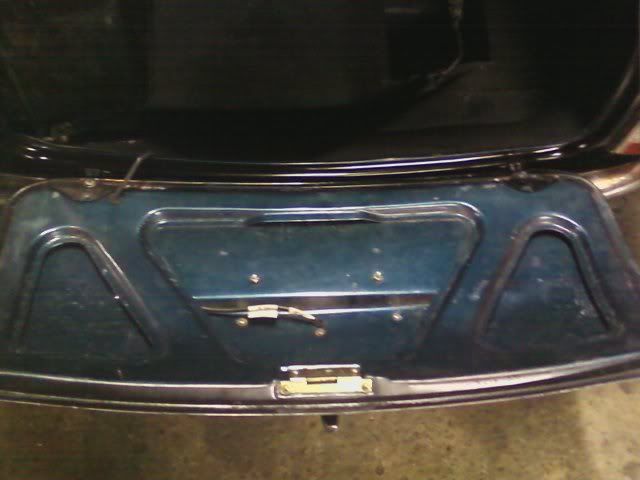
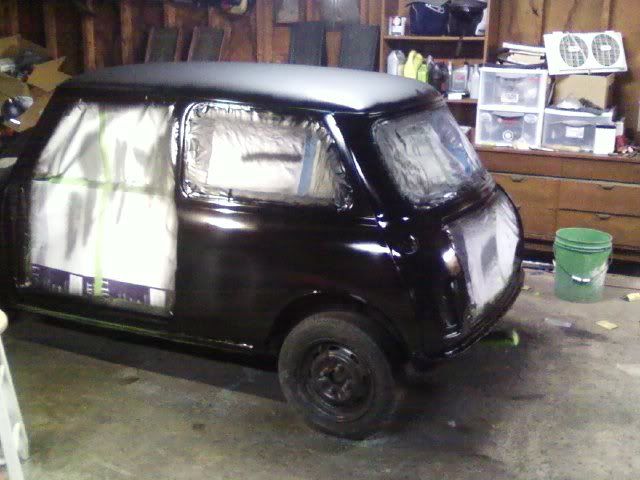
Rear end is completely back together with new boot lid and rear window seals. Oh, and you might have spotted a stripe on the roof... gives the car more character!
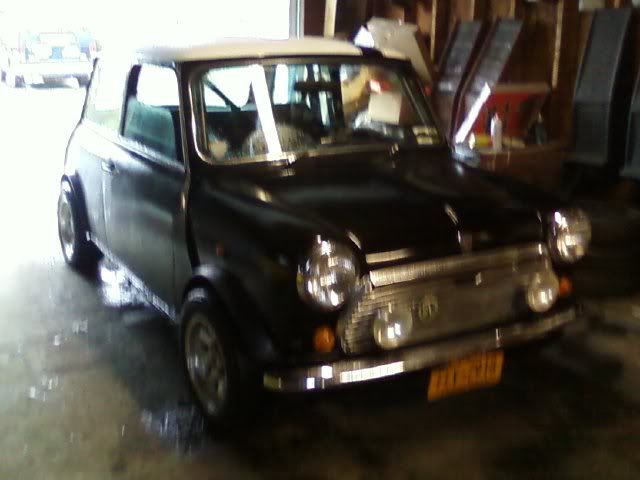
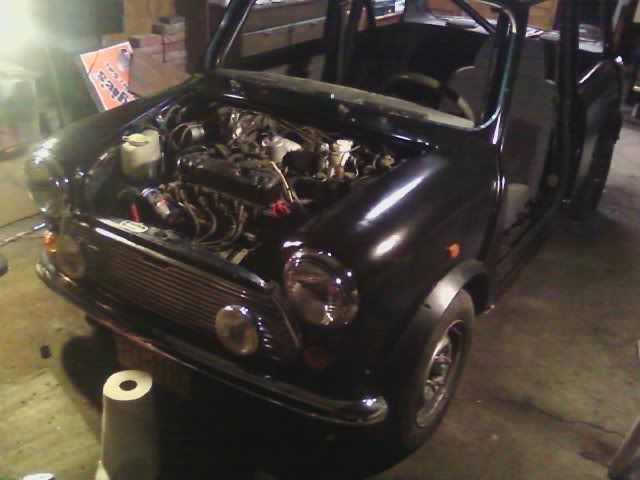
Front end completely back together, wheels are on.
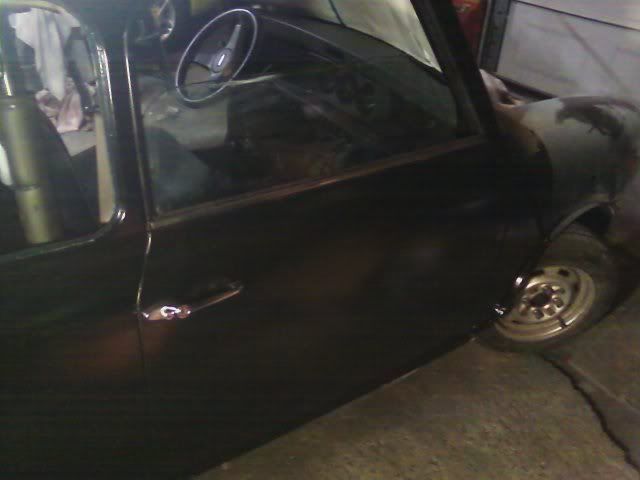
Driver's door is on now, along with my bullet mirror.
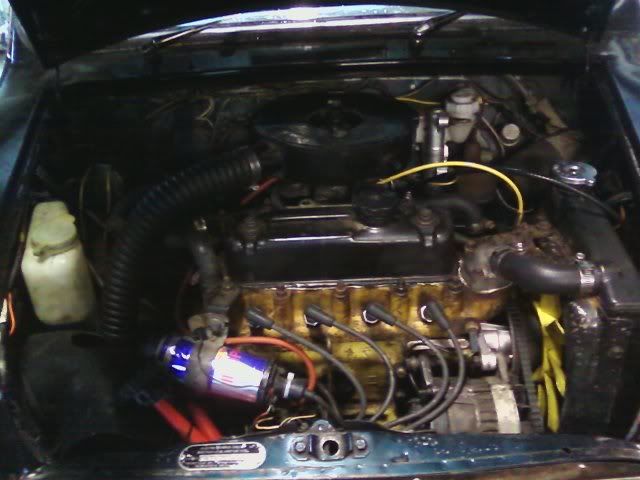
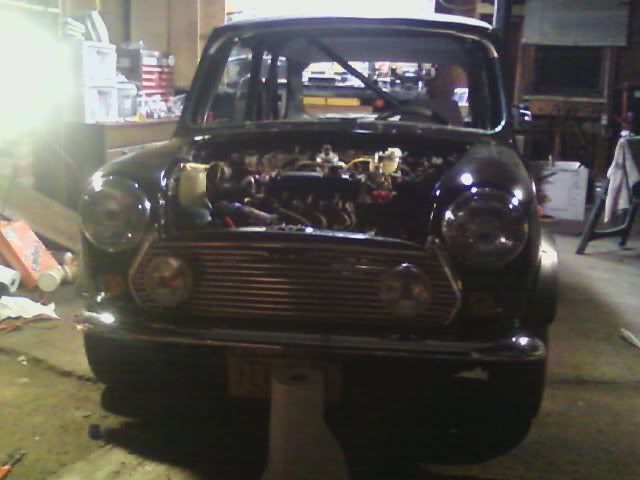
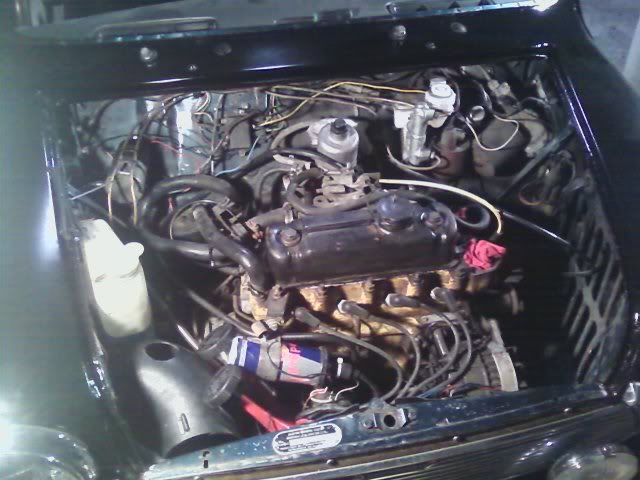
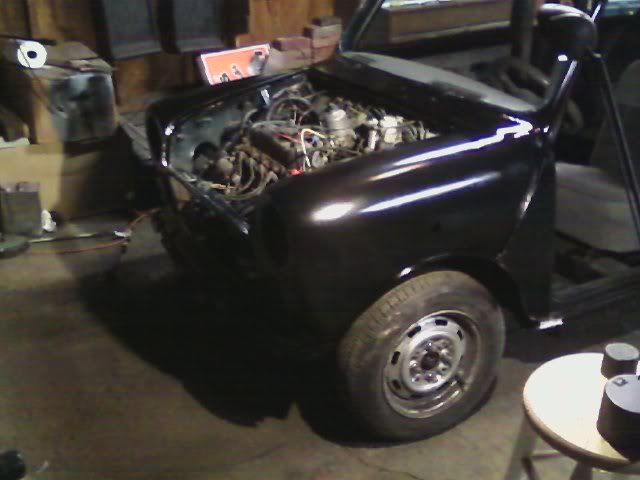
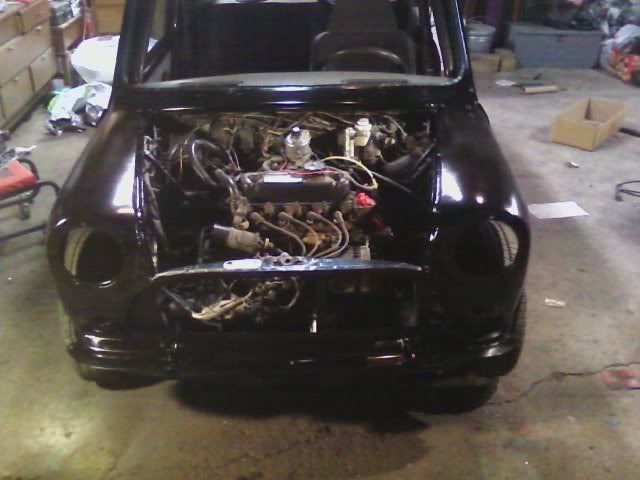
Engine bay was cleaned up, new: fan belt, water pump, top and bottom hose, thermostat and cap. I also wrapped the header with the thermo-tec wrap, and I have to say Wow! What a difference. I can touch the header when the engine is hot and then retract my hand with out a burn. Also had to make a new gasket for the float bowl as the float bowl decided to start leaking gas onto the header! Finally, I had a bit of tuning to do as the car was running pretty rich, but seems to be running quite well now. Calipers are back on and brakes are working fine. Have an alignment booked for Friday morning and I'll try to get up more pictures tomorrow when we get some decent weather...
Wednesday, April 6, 2011
Update 4/6/11
Front end is almost completely back together. It looks like a mini again!
Cleaned up the engine bay as well. Still a little more work to do but much better...
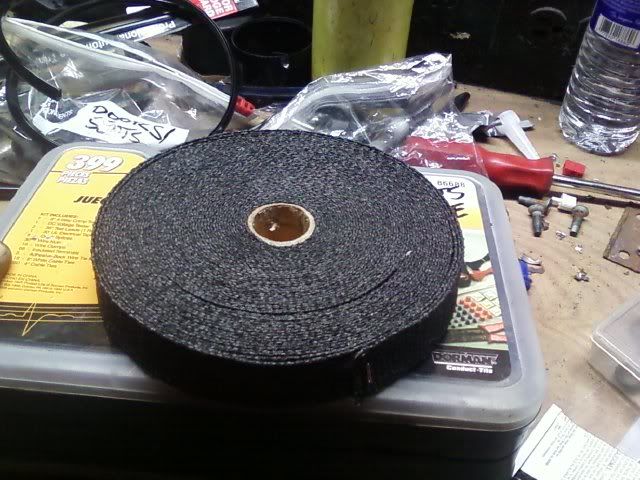
Dad bought a roll of thermo-tec exhaust wrap that I will wrap the headers in.
My cooling parts will be here on tuesday, and I have set up an alignment for Friday morning. Can't wait to drive it next week!!!
Tuesday, April 5, 2011
Update 4/5/11
Got the front painted today...

Will get the front end put back together and hopefully have the driver's door painted tomorrow.
Monday, April 4, 2011
Update 4/4/11
More updates and pictures...
Got the roof painted white today, along with the rear end back together.
Passenger door fit up very well, considering all of the pieces that I had to make.
Fuel tank is back in.
Boot lid is still blue so I can color match the blue later on.
Right now, I'm hoping to get the front end painted late tomorrow or early wednesday, which will just leave the driver's door (which is in need of some work). Hoping my cooling parts and seals will ship very soon. More updates to come...
Sunday, April 3, 2011
Update 4/3/11
Finally, an update! I've been busy prepping and painting panels and the body itself. I'll let the pictures do the talking...
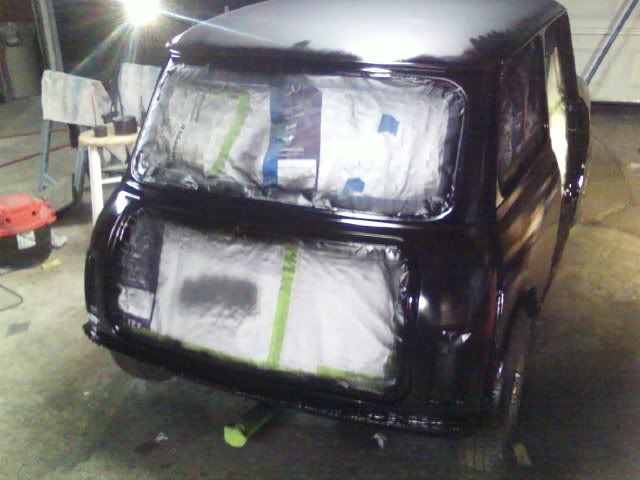
I was able to get the back and sides primed and painted, and the top is primed. I went with a gloss black as I didn't want to look at primer gray.

Like I say, the roof is primed and will be painted white.
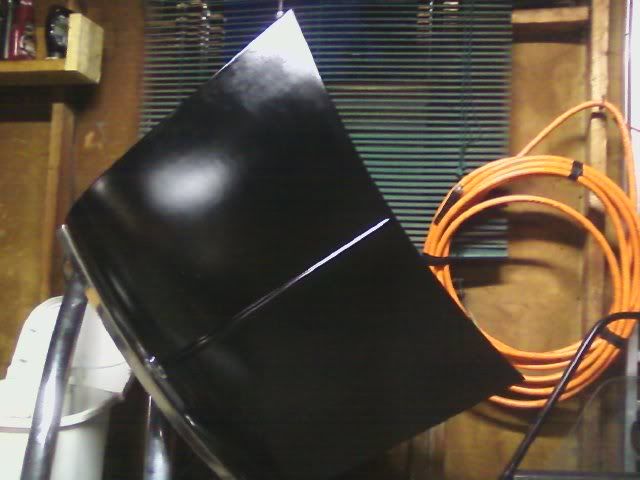
Hood is primed and painted

Boot lid is primed, painted and mostly assembled.
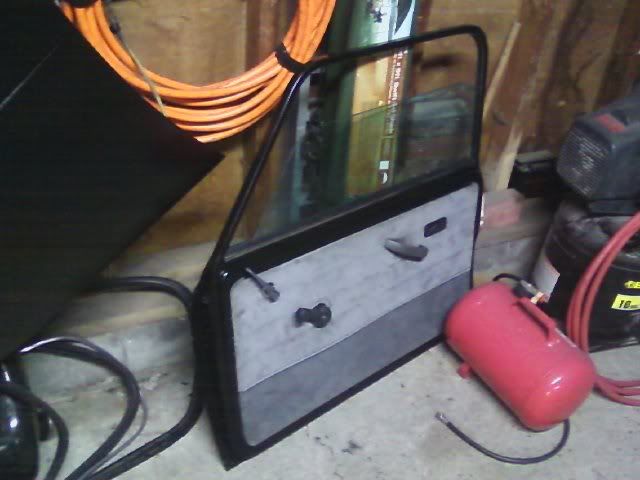
Door is primed, painted and completely back together.
I don't have too much left to do. The front end still needs to be sanded, primed and painted. The top needs to be painted, and the driver's door needs to be primed, painted and put back together. Then just need to reassemble the rest of the car. Also, I'm waiting on my cooling parts and just ordered a carpet kit, 3 point harness and roof aerial. Also going to get some floor insulation to keep out noise and some heat wrap for the headers.
I'm planning to sand and paint the car with my guns this summer when we get some warm weather. More to come tomorrow!
Sunday, March 27, 2011
Finally an update...
Well, I figured I should stop being lazy and post some pictures of my progress...

Rockers are undercoated as well as the front and rear fender wells. All welds and seams have been sealed, primed and undercoated

I have the rear valence welded in place now, along with my boot patch panels. I sealed the back (that's what the white is)

New piece welded in and any smaller holes were covered with fiberglass. The trunk looks a bit rough but I plan to carpet it to hide everything

Boot is now completely undercoated. Rear wheel arches have been patched with fiberglass

More boot repair. This has since been undercoated

More wheel well repair. This has since been undercoated

I pulled the calipers off of the front as the pistons are sticking and I could barely even move the car. I have two seal kits coming so I can clean both pistons and put in new seals

I finally got my front panels on Friday, so I was a busy boy yesterday. The fenders are pretty much completely welded, as are the a panels.

These are aftermarket panels, but I got them to fit pretty well. My gaps with the hood aren't too bad and the doors line right up. It's starting to look like a mini again

This side of the front nose (blue lower part) had to be trimmed as the wider tire would rub sometimes. The wheel arch will cover most of it up, and what it doesn't the bumper will.
At this point, I'm waiting for a water pump, top and bottom hose, rad. cap, thermostat, and caliper seal kits. Hopefully next week I can order the rear and side window seals, the boot seal, a carpet kit and two new tires. Hopefully I'll have the mini running not next week but the week after, and driving by the middle of April. I have decided to get the car sanded down and then to rattle can the car a dark gray filler primer. I'll go ahead and wet sand it so the finish won't look horrible. I will be priming and painting the car in the summer (june/july) with my paint guns. I will keep the same color, and paint the roof white for a checkerboard decal I'm putting on. More updates to come...
Sunday, March 13, 2011


Update 3/13
Well, I'd love to post some pictures of what I've been up to but my camera just gave it up. I have welded in the new flitch panels I ordered and buttoned up the rest of the floor pan. I just finished spraying a layer of undercoating on the top side (cabin) of the floor pan, after a layer of primer. I also hung both the doors for alignment and they are lookin' good. I ran out of shielding gas, but the next project is the rear and to button up a few little places in the rocker panels. The fender wells are undercoated as well, just need the fenders and a-panels to button things up in the front. I'll keep everyone posted and hopefully get some pictures up, even if I have to use my cell phone.
Friday, March 4, 2011
Friday 3/4/11
Well, I have more of the floor pan welded up and my welds are starting to look much better. I haven't had a lot of time in the past week to work on the car but I'm hoping to get a fair amount done this weekend. Pictures...


Not sure if I put up a picture of my new springs or not so here is one of the springs

22 ga metal underneath the 16 ga you can see

Just 22 ga metal here

Welds are finally getting better
That's it for right now but I'll keep this updated over the weekend...
Wednesday, February 23, 2011
Wednesday
Finally got a tank of shielding gas to start mig. I leased an 80 cu ft tank for a year and I just pay for refills. Here's the result...


Cut holes in passenger panel for radio


Covered driver's panel in vinyl. Passenger panel still needs to be done


Passenger floor is almost done


I'm starting to get the hang of it, but it's going to take some practice. I'll probably be back at it tomorrow...
Subscribe to:
Posts (Atom)